Creating Filter Groups
Filter Groups are a feature on the Scheduling Dashboard that allows you to filter out who is on the schedule. You can choose a filter group to determine what shifts, clients, and caregivers stay on the schedule to view. To learn about using the Filter Groups feature, follow the instructions below.
To create a Filter Group:
1. From the Menu select Menu>Scheduling>Filter Groups
2. Select the pencil/pad icon to Create Filter Group.
3. Next name the group in the Group Name field, select if you would like the group to consist of Clients, Staff, or All. After that option is chosen select which clients or staff you would like to be included in the filter group. Once completed, select Save.
4. That filter group has now been created to be used in the Scheduling Dashboard.
How to apply filter group in Scheduling Dashboard:
1. In the Menu select, Menu>Scheduling>Scheduling Dashboard.
2. Select the which view you would like to use for scheduling, Clients or Staff. After selected, choose the Use Filter Group option the toolbar above the schedule.
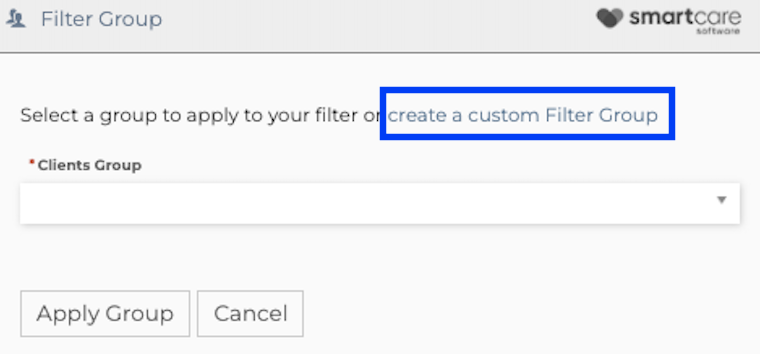
3. Once that option is selected a pop up will give the option to select which filter group you would like to apply. Choose which group and select, Apply Group.
4. You will then see the clients and/or staff that are in that filter group listed below the dates. Click, Apply Filter option to apply this filer to the schedule.
5. To remove the filter you can either click the x add the end of each name or select the Clear selected users icon the right of the name, then select the Apply Filter icon.
NOTE: You can also access the filter groups section by after selecting the Use Filter Group icon from the dashboard. When the pop up appears you can select create a custom filter group. This will take you into the Filter Group section directly.
Related Articles
How to Create, Apply, Change, and Remove Shift Tags
How to Create, Apply, Change, and Remove Shift Tags Creating Shift Tags: Access Scheduling Dashboard Menu>Scheduling>Scheduling Dashboard Add the Shift Tag Section if not already showing to the side of the Dashboard Do this by clicking the Utility ...Creating Open Shifts
Creating open shifts within the Scheduling Dashboard can be accomplished using the Utility Drawer functions of Create Open Shifts or in the Clients view of the Quick Shifts. The instructions for both tools can be found below. 1. To create a open ...Change and View Filters on Schedule
Changing and viewing filters allows you to simplify the schedule and make it easier to understand. To use schedule filters, follow the instructions below. Navigate to the Scheduling Dashboard from the main page or through Menu>Scheduling>Scheduling ...Create Manager Activities
Manager Activities are activities carried out by managers that deal with administrative needs. This could be anything from working on invoices to meeting with a specific client about an issue they are having with a caregiver. To create these manager ...Create/Edit Punchcards
If you need to create/edit punchcard of your caregiver, follow the steps below: 1. In the Scheduling Dashboard, which is under Menu > Scheduling > Scheduling Dashboard, find the shift that needs a punchcard created. 2. Click on the shift and select ...